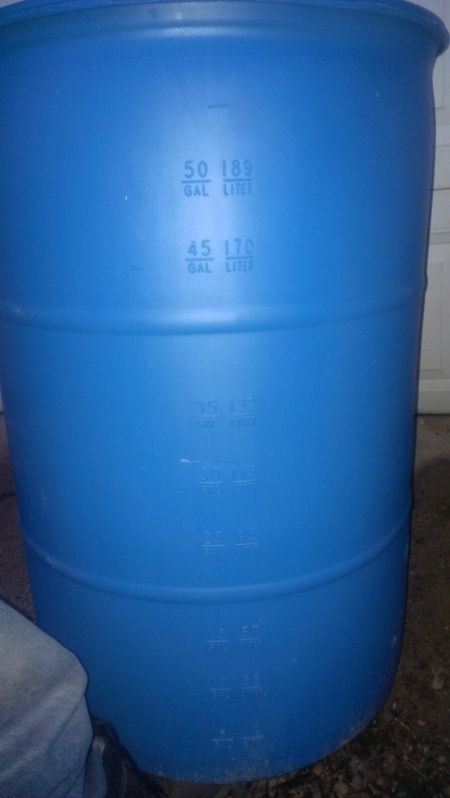
I'll be using a standard 55gal plastic barrel for this. I picked a bunch up for $5 a barrel. I know alot of people are using these for tanks and they work great. Just remember to thoroughly rinse them out. Most times when space isn't limited I would suggest laying them on their side and building a cradle to set them on. However For this tank if you don't have a bunch of room to put a large set up, this one will only take up a small corner maybe 30" square and about 5' tall, it is a very tall vertical set up. It can be modified ie. shortened by cutting the barrel down and then riveting/caulking the lid back in. Keep the barrel intact will allow you about 40 gallons or so of water in the barrel.
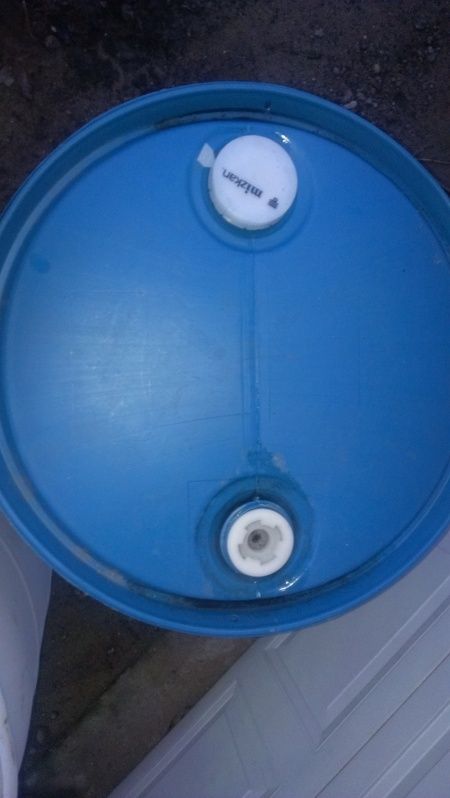
Looking down onto the top of the barrel you should see the two threaded bungs.
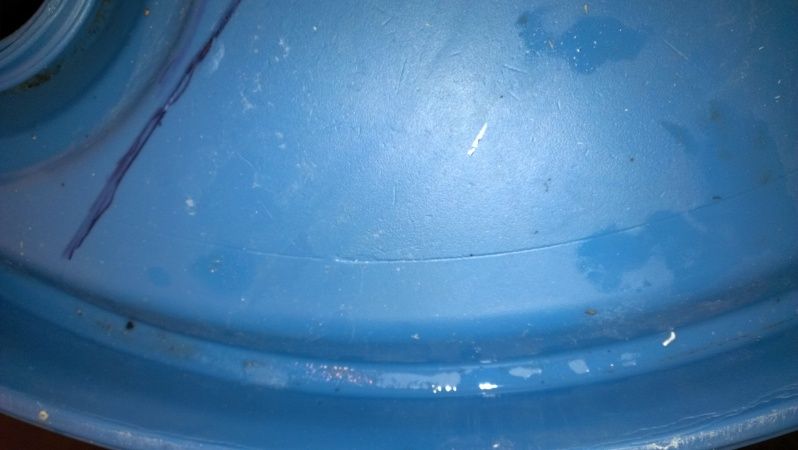
On my barrels there where molding ridges on the lid which served as the guide lines for the lid. Hopefully they show up in the picture, I tried to highlight them with a marker.
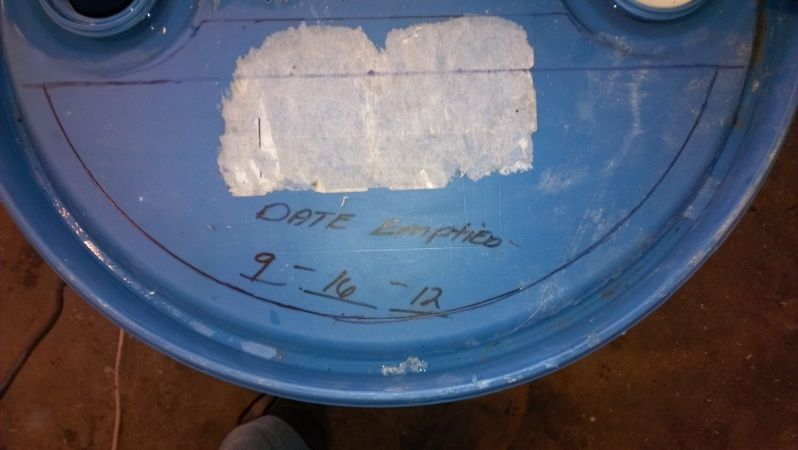
Using those molded ridges as a guide for my access door, I used a sharpie marker to make the outline for the door.
To get a smooth cut on the door I use a cut off wheel on my angle grinder. Its pretty easy to do, it pretty much melts as it cuts leaving a smooth cut as long as you have a smooth steady hand.

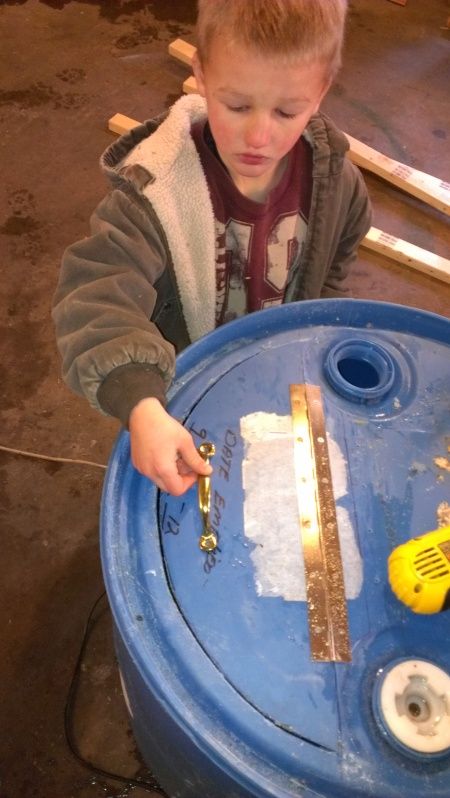
Now before you get all excited and cut out the door completely you should cut the back straight edge. this way you can then attach your piano hinge to. I used a 12" stainless hinge. You can use other hinges, but I like the piano style hinge b/c the plastic has a bit of a convex bow, so by attaching the piano hinge it conforms to it a little bit, and will act kinda as a spring assist in opening and keeping it closed.
Once the hinge was on, I then attached a handle to the access door, this comes in really handy as you are cutting out the rest of the access door as it allows your to keep some upward pressure on the door to keep it from being pushed into the barrel.
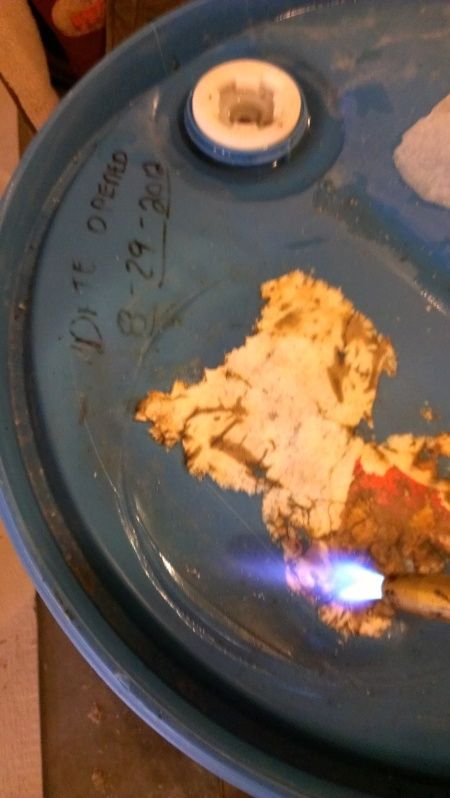
Now what i did next you may or may not have to do for your barrel. I had to use a torch to heat up the back half of the top of the barrel to get it to flatten out a little bit. Mine had a bit of a bow to it, and it caused my bucket filter to rock more than I liked. So all I did was heat the area where the bucket filter was to go a little bit at a time, You'll know its getting ready as the surface starts to get kinda glossy. Be care full not to put to much heat as the plastic could catch on fire. You could also use a heat gun if you like.
I then took out one of the threaded bungs so that I could set my bucket filter on top of the barrel.
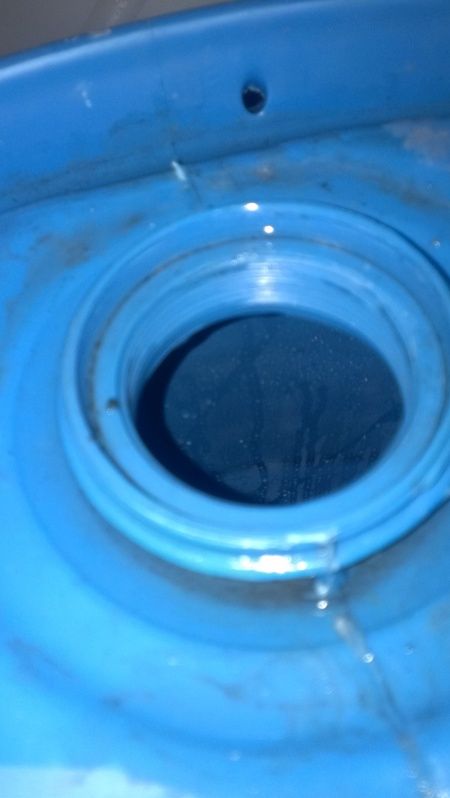
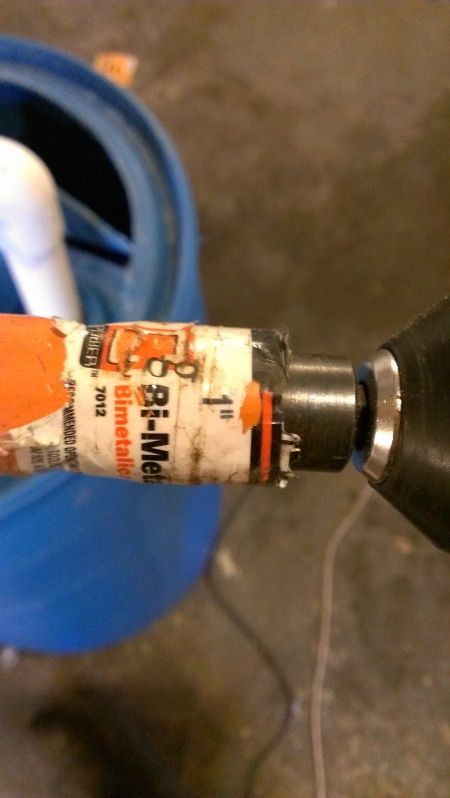
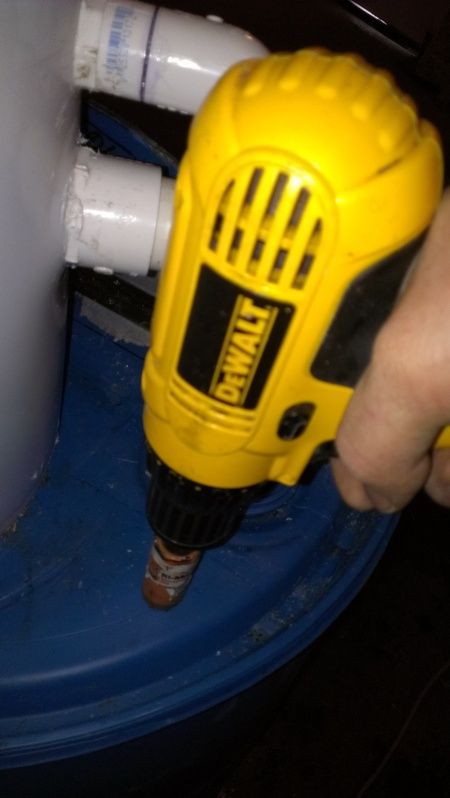
Next I took a 1' hole saw and my drill and cut a 1" hole next to the threaded bung opening so that my flexible hose could be passed through from the submersible pump. You can use PVC pipe, Or PEX what ever you have available. I just had a bunch of the flexible tubing left over from another project so that's what I used. You may have to heat your flex hose as it does have a tendency to become stiff and hold the shape that it was in over a period of time.
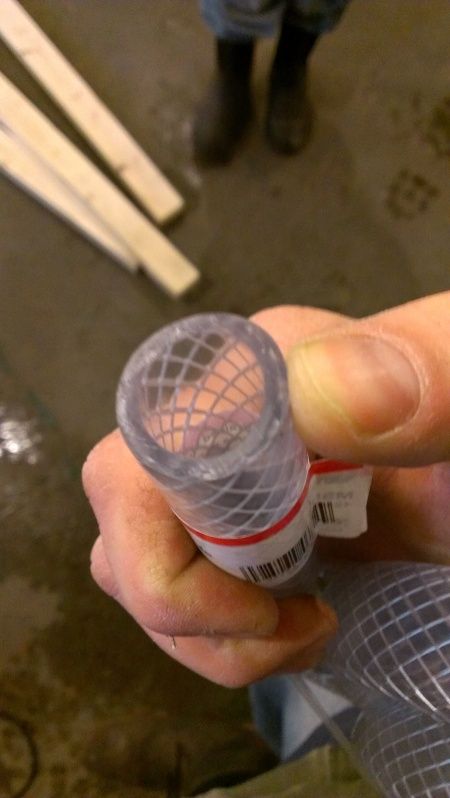
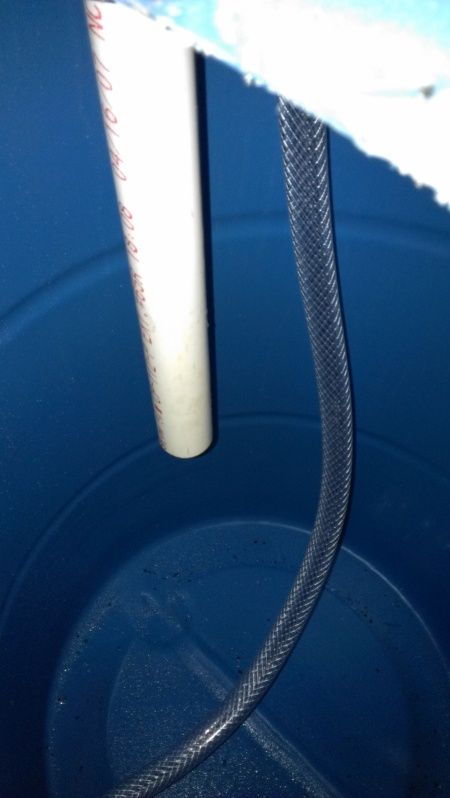
Next I took my flexible tubing its 1" OD by 3/4" ID and passed it through the hole that I just drilled. It should be a perfect fit if you used the right sized hole saw.

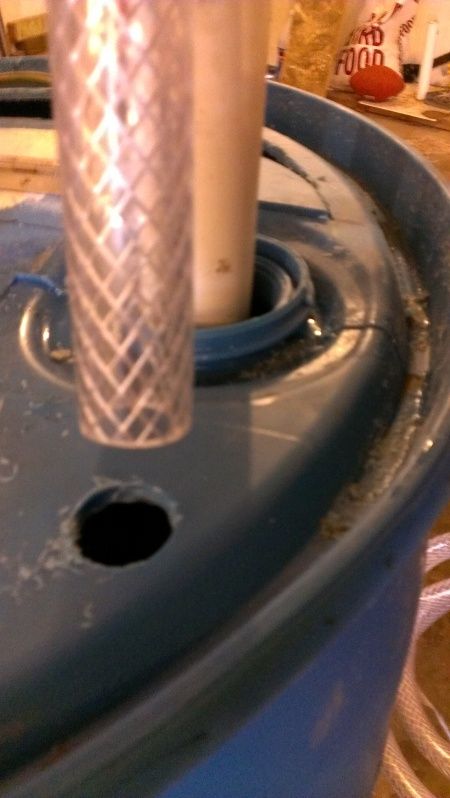
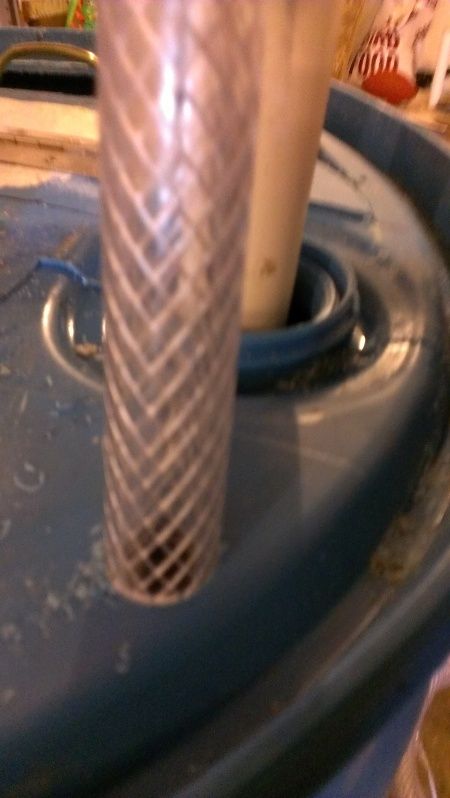
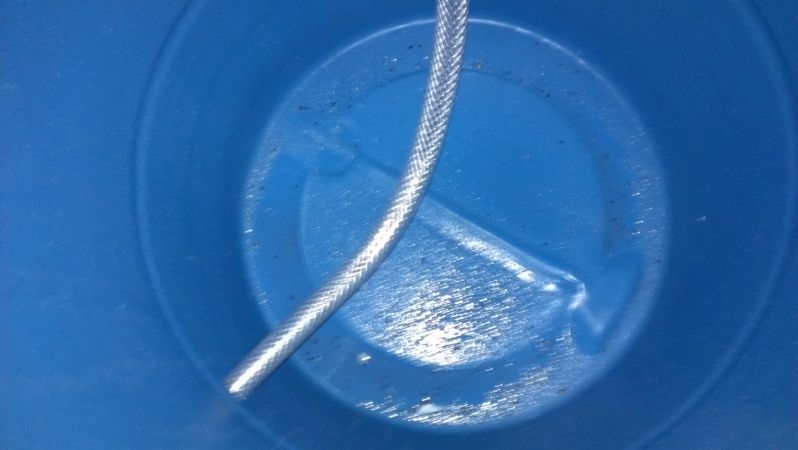
Just keep feeding the flexible tubing down into the barrel till it reaches the bottom. Give yourself a little extra to make sure that you'll have enough to attach to your pump. You may notice the white PVC pipe in the picture that is the Outlet pipe from the Gravity filter. It has not been cut to length yet, I will be trimming it to it proper length, It will end up being cut about 6" below the top of the barrel and a T- fitting attached at the end.

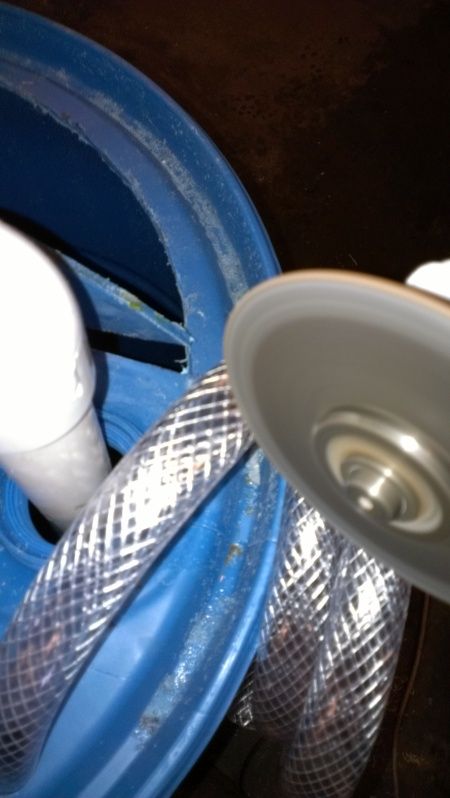
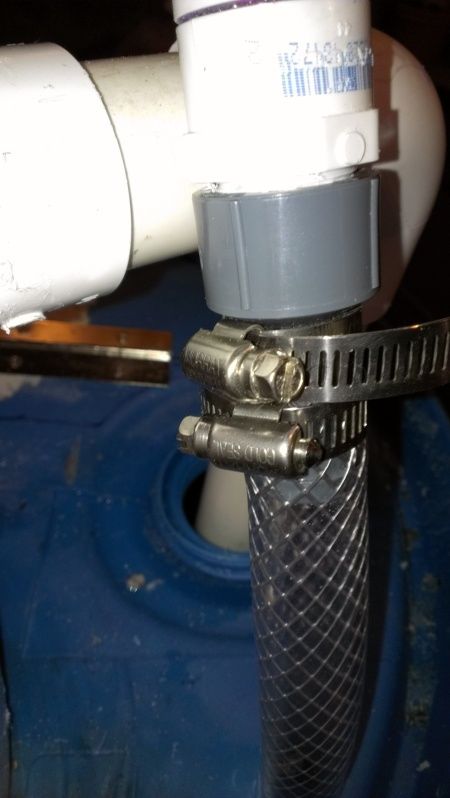
Next I took the flexible tubing and held it up against the intake pipe of the filter and I cut it with my cut off wheel and grinder again. Once its cut, put it over the end of the fitting. Be sure to either slide on your Hose clamps prior to putting it on the fitting or undo them and put them on after. It is always important to put on the hose clamps in opposite directions. According to UNCLE SAM this is the proper way to put on hose clamps.

Next is setting up the pump, For this I'm using a 400 GPH pump which will filter the water 10x an hour in this.
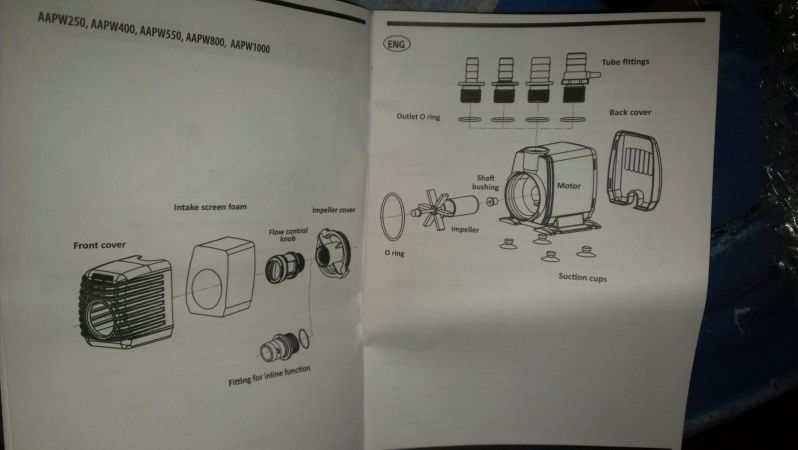
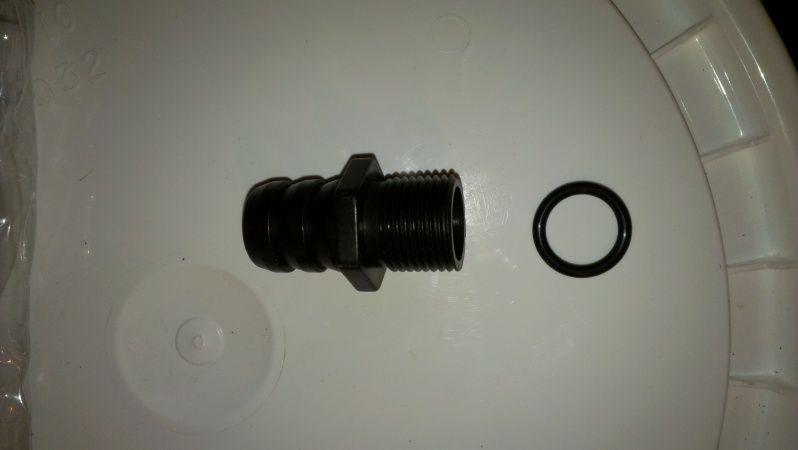
Ensure that if your pump requires that a o-ring is placed on the output, that it is put on.
Next attach the flexible tubing to your pump, the same way as with your hose clamps. this picture does not show them however.
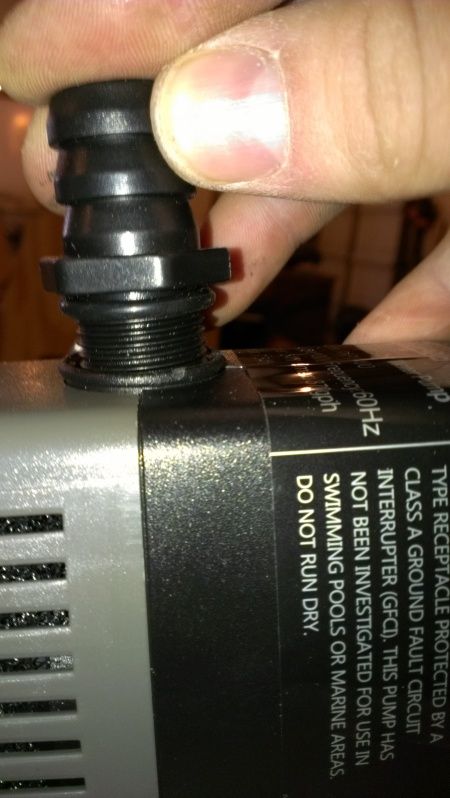
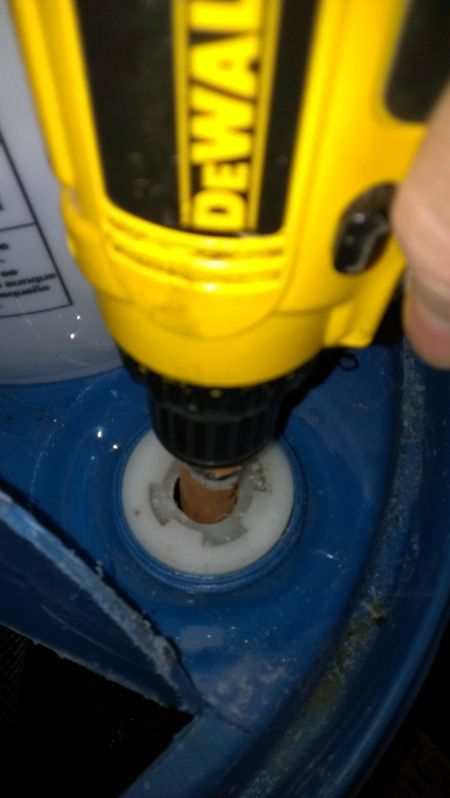
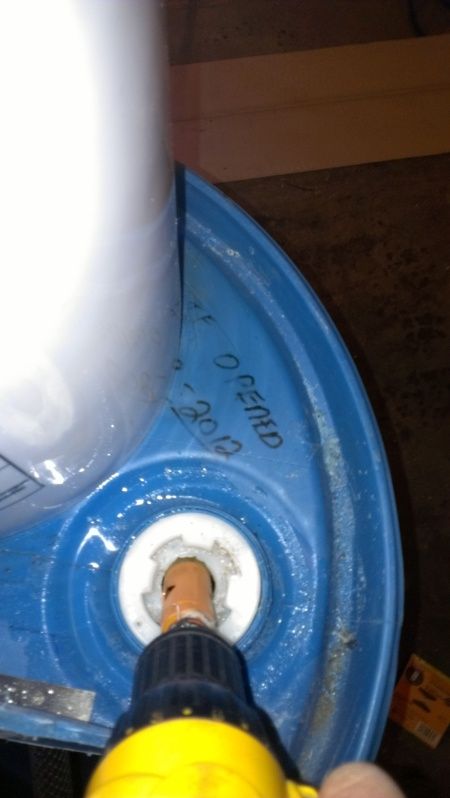
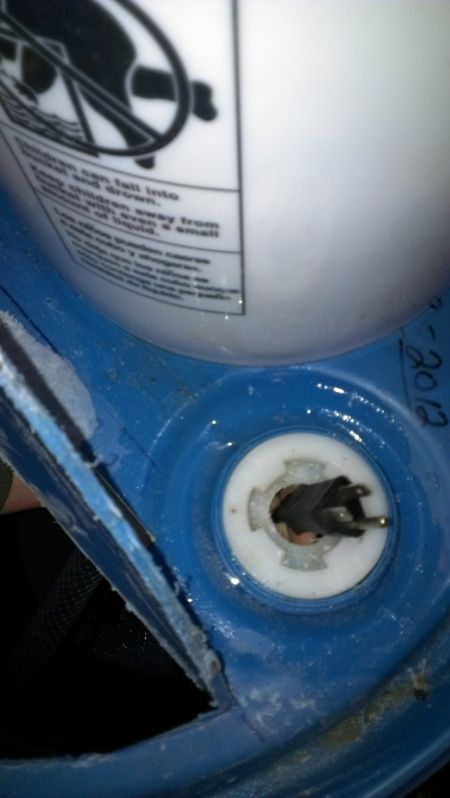
Now that your pump is in the bottom of the barrel what to do with the cord so that it is not interfering with the access door. What I did was drill through the other threaded bung with a 1" hole saw, and then once it was cut, I test fit my plug to see where I needed to trip back more of the plastic bung. A couple surgically placed cuts angled away from the hole allowed the plug to fit through.
The Surgical cuts
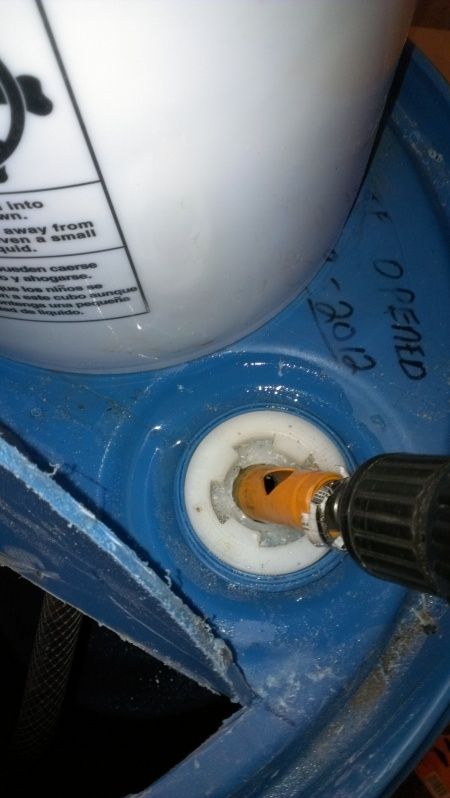
The plug now fitting through the hole
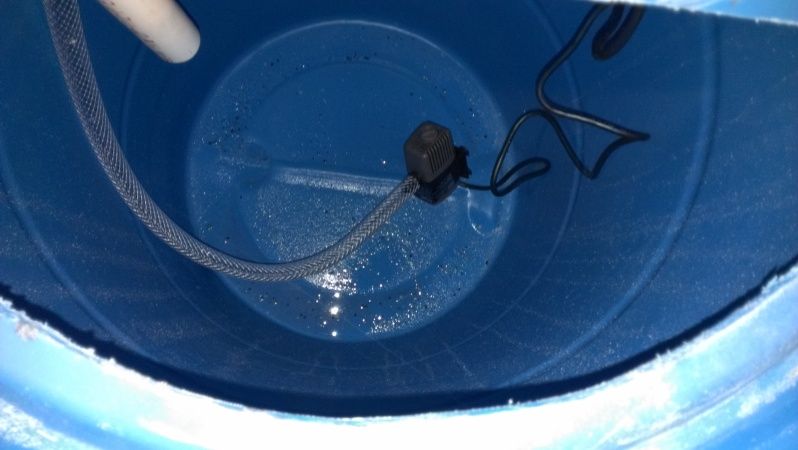
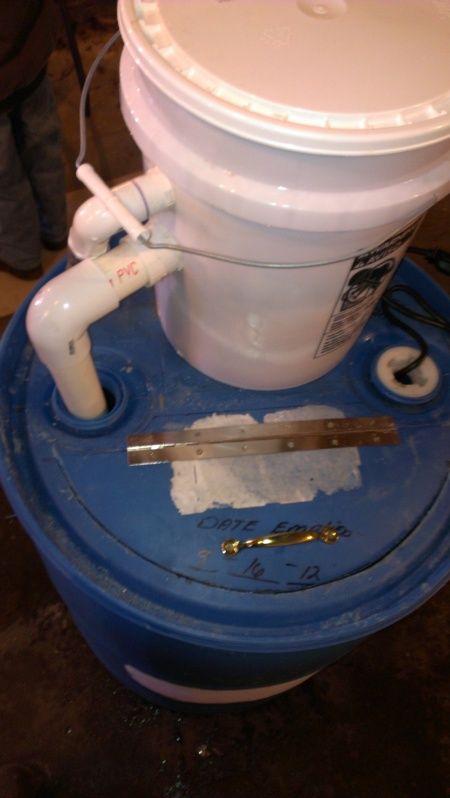
Now that the plug was up through the hole, the cord just seemed to be in a mess at the top of the barrel, so by flipping over the handle of the bucket filter I was able to pull the cord up, and then it can be zip tied out of the way so that it keeps the install looking clean.

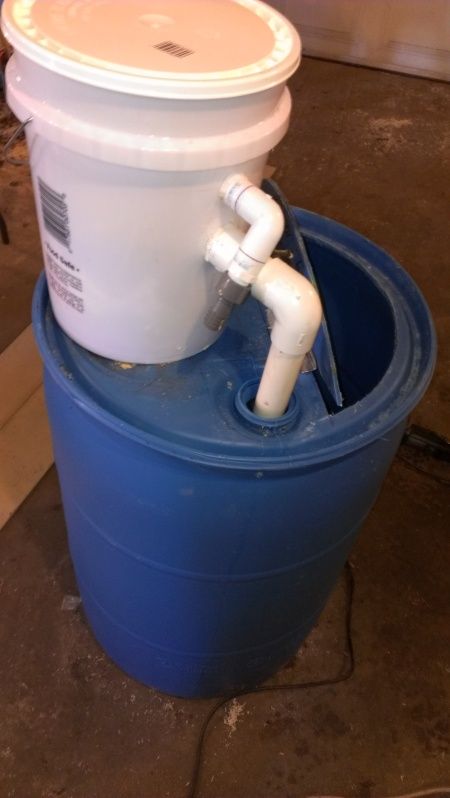
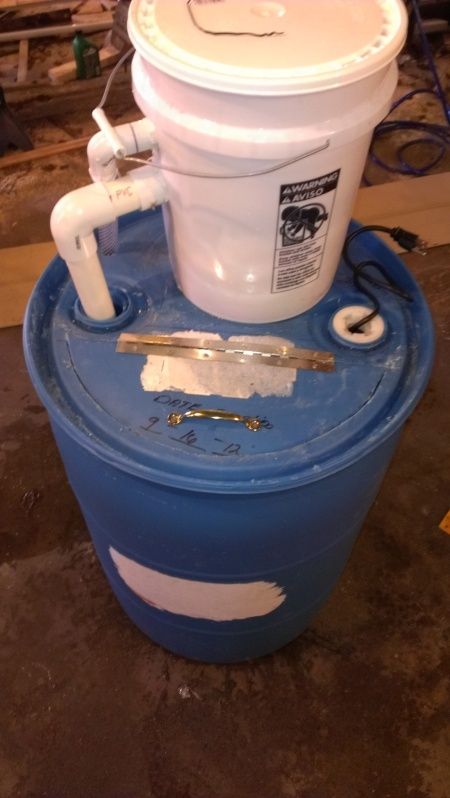
Finished set up will look like this. It's neat, cleanly done, and doesn't take up much floor space, how ever it will need some vertical clearance b/c of its height.
An aerator is not absolutely necessary with this set up as the water is getting aerated in the bucket filter and then again when it enters back into the tank, but it can't hurt especially when its really full of bait. So for the air filter take the airline tubing and attach it to the air stone and place the stone in the bottom of the barrel away from your pump. If its near the pump the pump could suck in the air bubbles causing it cavitate. Then take your air Line tubing and pass it up through the bung where the pump plug goes and to your air pump which can be placed either on top of your bucket filter or on the lid of the barrel. Either zip tie or wire tie all the excess plug wire from the air pump.
I will take a video of the up and running tank and post it later tonight. So everyone can see it in action. and hopefully show some more detail of the build, and some helpfull tips and tricks.